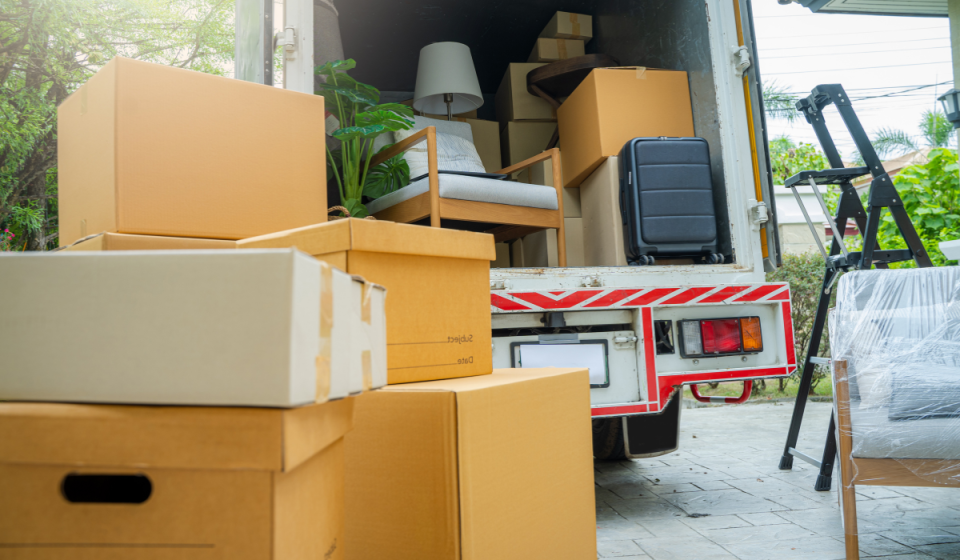

So, you have planned your move, and you might be excited about the new journey at your new place. You probably have booked the movers already. But still, there are some items that need to be packed.
You look at your washing machine and think, wait, can I just unplug this and go? The answer is a big no. A washing machine is one of those appliances that looks easy to move but isn’t.
Once something goes wrong, you’ll end up messing up everything. You might get a cracked drum, or a machine that simply won’t work when you plug it back in at the new place.
But the good part is that preparing a washing machine for a move isn’t complicated when you know what to do. It just needs to be done in the right order, and most people skip at least one without realising.
To make your journey easier, we’ve prepared this blog post from the experience of professional house movers in London, UK. This guide will help you learn how to transport a washing machine safely, step by step, in the easiest way possible.
Why You Can’t Just Unplug And Go
You may think transporting a washing machine is easy, and it’s just a big box on wheels. It isn’t because there’s a drum that spins at high speed, held in place by suspension springs and dampers. There’s also water sitting in the hoses and pump, even after a cycle finishes.
If you move the machine without draining it and locking the drum, you might experience two things. Water leaks out over your floor, your carpet, or inside the van. And the drum swings around during transport, damaging the suspension- an expensive repair; sometimes it can’t be fixed as well.
Prepping your washing machine takes about half an hour. When you’re moving a washing machine across a whole house, that half hour is what stands between a smooth day and a soggy one. |
Five Steps To Prepping Your Washer: The Process
- Run A Quick Cleaning Cycle
Start with an empty washing machine cycle. You can use hot water or a cup of white vinegar. Don’t use detergent. This will clean the body and remove any leftover soap, residue, or smells before the machine stays closed for a few days during the move.
After this, leave the door or lid open for 24 to 48 hours so the drum dries out completely; a damp sealed machine in transit is exactly how mould and musty smells start.
- Turn Off The Water And Drain Everything
This is the step almost everyone forgets, and seriously it’s the one that causes the most mess. Turn off both hot and cold valves behind the machine, disconnect the inlet hoses, and let any water drain into a bucket or towel.
If your machine has a small filter panel at the bottom front, open it carefully and drain it because this area collects leftover water, lint, and coins.
- Lock The Drum So It Doesn’t Move
This is easy to miss, but it’s what actually protects the machine in transit. Front-loaders need transit bolts fitted into the back to hold the drum firmly in place. Don’t worry if there are no original bolts!
You can simply order replacements, or pack the gap with rigid foam or tightly folded towels. Top-loading washing machines need padding placed between the tub and outer casing, so check your manual first.
- Secure The Hoses, Cords, And Door
Tape the power cord and drain hose to the back so they don’t dangle or snag. Dry hoses can go inside the drum, or in a sealed bag taped to the top. Tape the door or lid shut firmly; a door flapping open mid-move is how machines often get scratches, dents, or knocked off balance on the dolly.
- Wrap Up And Move It Upright
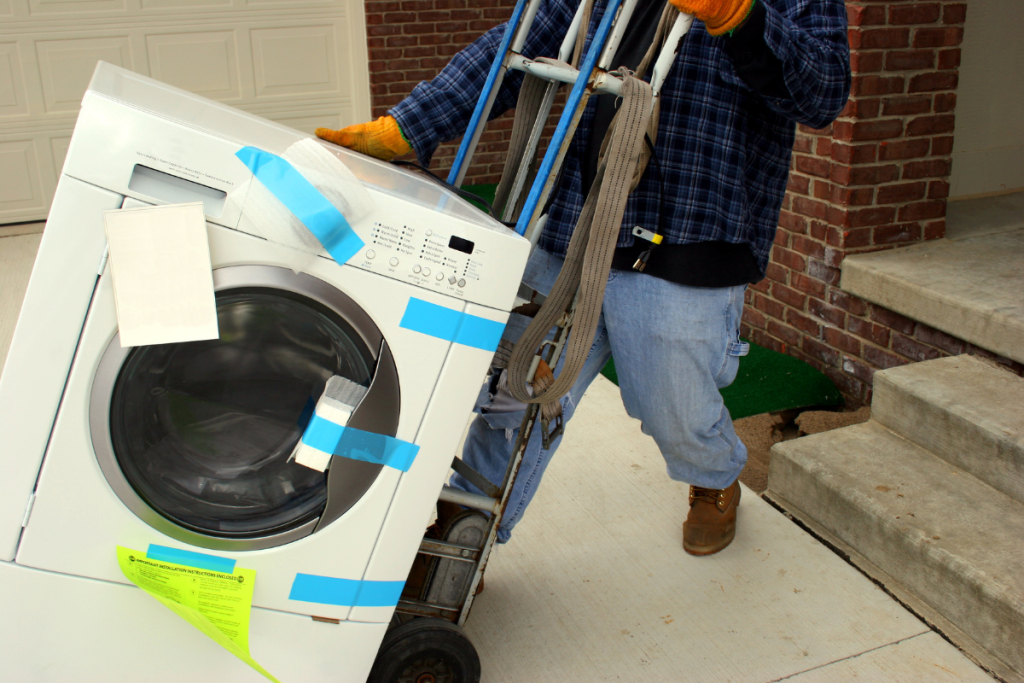
Wrap the machine in thick moving blankets and secure it with tape or straps. You can also use an appliance dolly to lift it and tilt it while a second person steadies it instead of carrying it flat.
Always keep it upright. Laying it down can let water into the electrical parts or make the drum unbalanced. After you load it, strap it down to stop it from sliding or tipping during transport.
How Helpful Movers Simplifies Your Process
Preparing a washing machine correctly takes time, the right tools, and careful handling. If you’d rather leave the heavy lifting to experienced movers, it would make your process stress-free.
Our team at Helpful Movers handles each task carefully, from safe prep and wrapping to loading without any damage.
Clearing out a rental too? We can take care of the final clean as well with our end-of-tenancy cleaning services in London, so you’re not doing everything yourself in the last stressful days before you leave. Get a free quote from https://www.helpfulmovers.co.uk/
FAQs: Washing Machine Shifting
Should I drain my washing machine before moving it?
Yes. After a normal cycle finishes, water might sit in the hoses, pump, and filter. If left undrained, that water can leak during shifting or sit inside the machine, which can cause mould, bad smells, or internal damage.
Can I move a washing machine without transit bolts?
It’s risky. Without something locking the drum in place, it can swing during the journey and damage the suspension. If you’ve lost the original bolts, padding the gap with foam or thick towels can be a reasonable backup, but proper transit bolts are safer option.
Is it okay to lay a washing machine on its side to fit it in a van?
No. Washing machines should always stay upright during a move. Laying it down risks leaking water into the electrics and can knock the drum out of balance, sometimes permanently.
How do you secure a washing machine for transport?
Secure the drum with transit bolts, tape the power cord and hoses to the back, close and secure the door, wrap the machine in moving blankets, and keep it upright during transport. Strap it firmly inside the moving vehicle to prevent it from shifting.